Specflow is one of the popular BDD (Behavior Driven Development) based tool for .NET. Its popularity has made Specflow and its related tools FREE in recent days like
- Specflow+ Runner
- Specflow+Living Doc integration (which we are going to discuss here)
Specflow for .NET projects
Specflow installation in .NET solution is as easy as adding an NuGet reference in the project. Once installed, we can start leveraging the power of Specflow within our project like
- Writing Feature files and Step definitions
- Using F12 for Step definition navigation
- Uses all the Gherkin specification which are available in other languages like Java, Ruby, etc
There is a complete series just discussing about Specflow with C# in ExecuteAutomation YouTube channel as well as in ExecuteAutomation platform
Specflow+LivingDoc
SpecFlow+LivingDoc is a set of tools that allows you to share and collaborate on Gherkin Feature Files with stakeholders who may not be familiar with developer tools.
Specflow+LivingDoc can be generated in two ways
- Online via Azure DevOps integration with Specflow projects
- Offline via Living Doc local tool installed in the global scope of Nuget in our machine
Lets discuss one by one in a super quick manner !
Specflow+LivingDoc and Azure
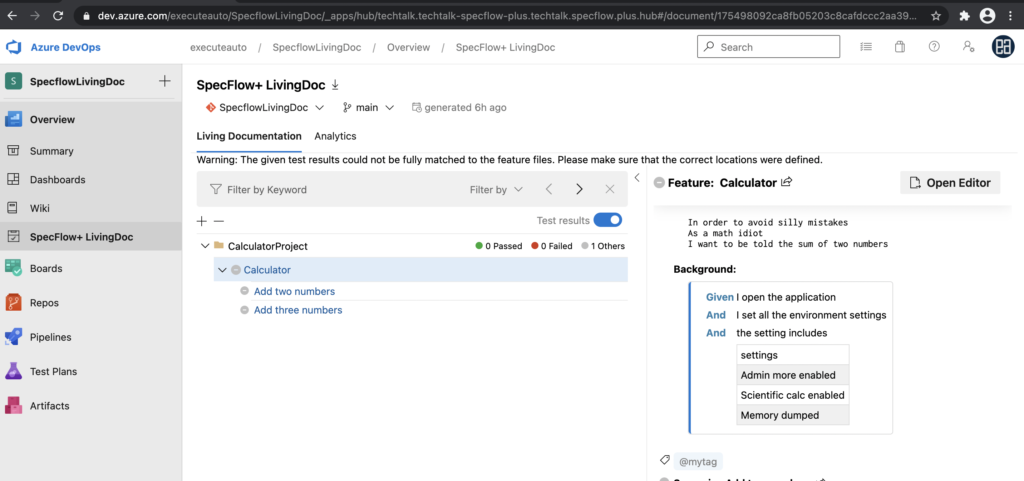
Specflow+LivingDoc has evolved so much that, it’s now available in the Overview tab of Azure DevOps.
This shows how important Specflow is for the whole team insisting its importance not just for testers but for the whole team including Developers, Stakeholders, BA, and even DevOps engineer
Specflow+Living Doc Azure Integration
The integration with Azure DevOps and Specflow+LivingDoc is very simple, here are the step by step approach
Step 1:
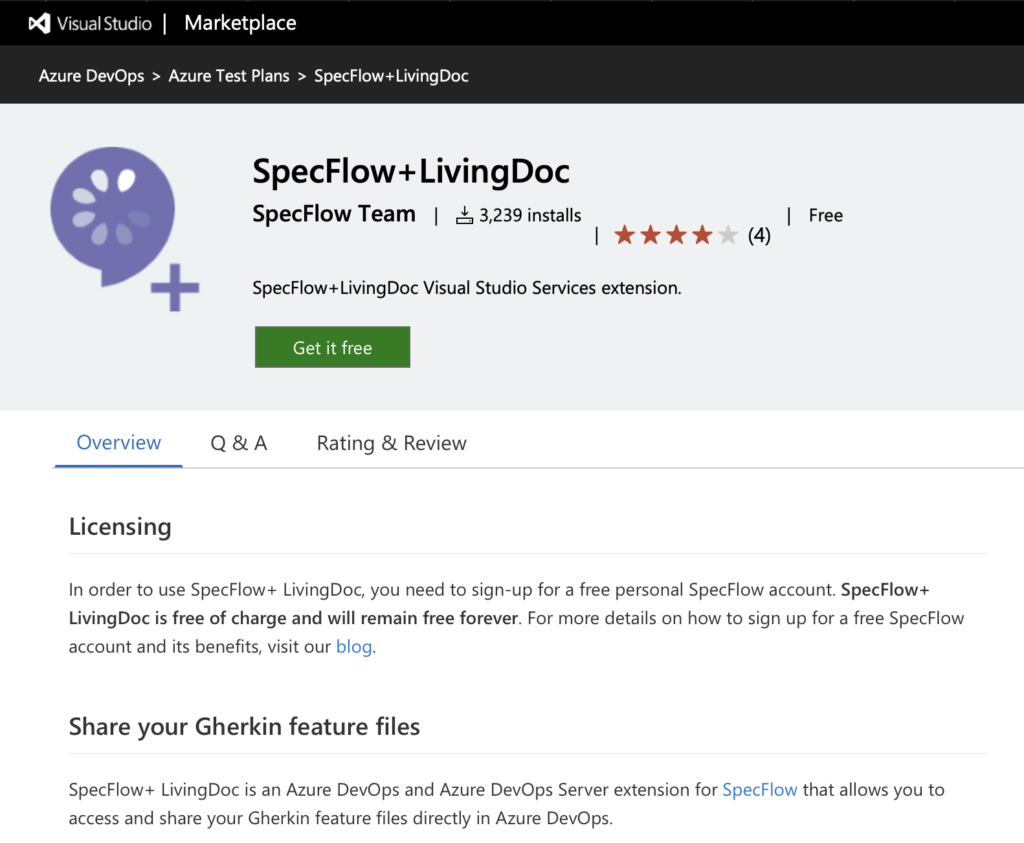
Install the Specflow+LivingDoc from Azure DevOps Market place
Step 2:
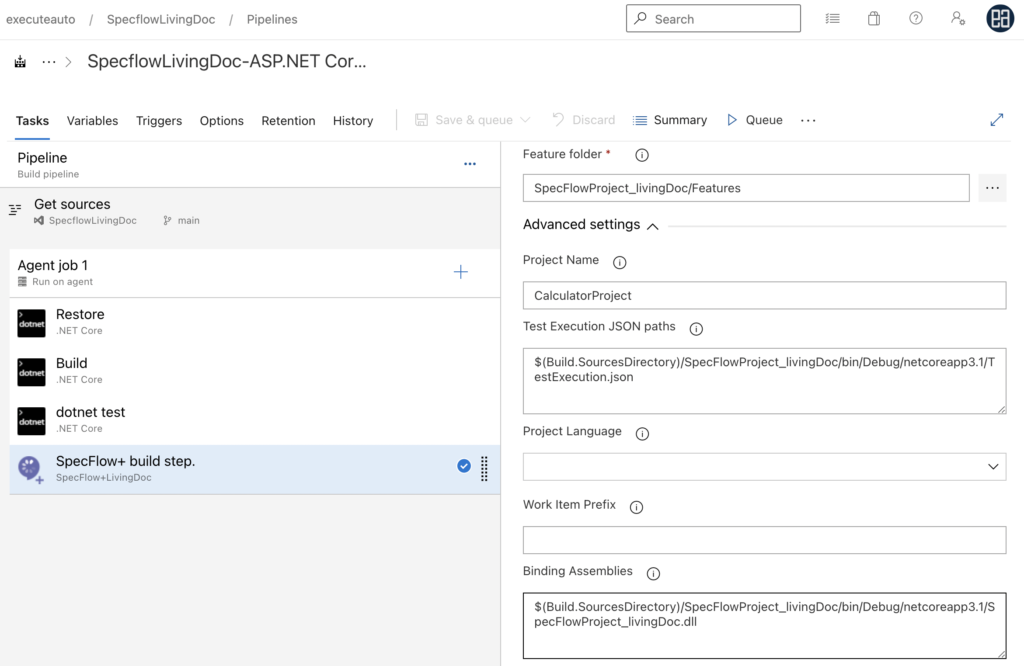
Once the extension is added from market place in your project, you can add the Specflow task in your Build Pipeline

Step 3:
Finally, setup the Specflow+Living Doc with the following important parameters set
- Feature Folder

- Test Execution JSON Path

- Binding Assembly

So, all together it looks like this
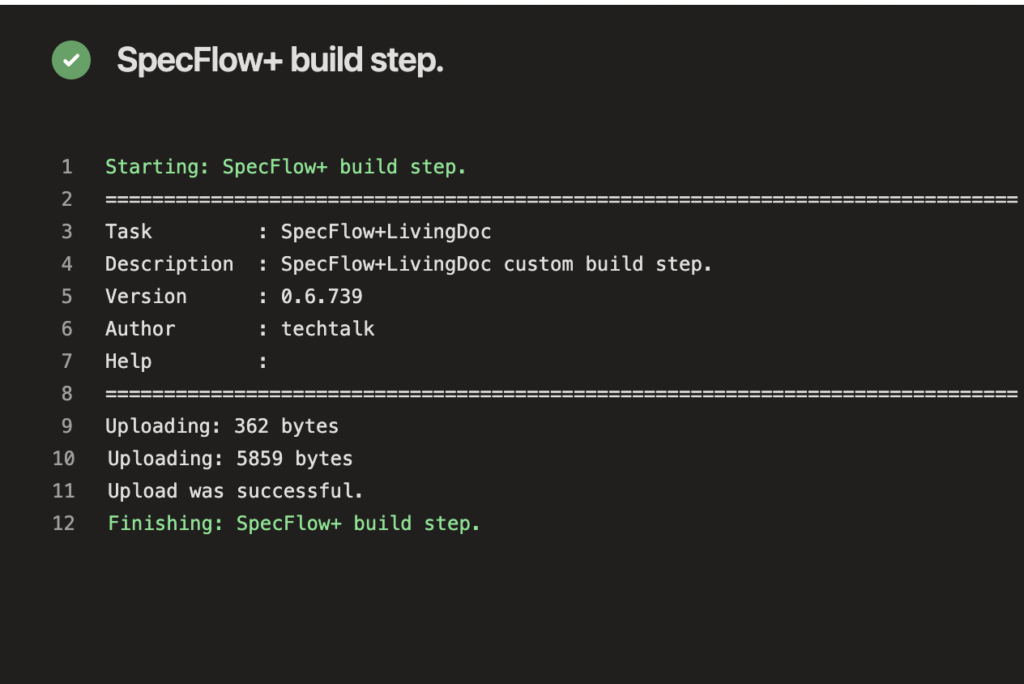
Specflow+LivingDoc Execution
Once the build pipeline is ready and triggered, the build pipeline execution will result the followin
Final Report
Finally, the Specflow+LivingDoc in the Azure DevOps Overview tab will appear along with the text execution report
Complete Demo
This video below gives an complete walkthrough of what we have discussed now
Reference Resources
This articles and its few works are available in much detail in these Udemy courses
- Continuous Integration & Delivery with Azure DevOps Service https://www.udemy.com/course/cicd-azure-devops-service-2019/
- Automation framework development with Selenium C# (Advanced) – https://www.udemy.com/course/framework-development-with-selenium-csharp-advanced/
