
In this article we will learn how to upload a file with Puppeteer using fileChooser method.
File Upload is the common test case while automating UI based applications and that too with application which depends highly on external file parsing such as billing application, document processor, file upload is especially important scenario.
Many automation testing tools and APIs have their own way of handling file upload and the same is applicable with puppeteer as well. Since Puppeteer is JS based tool and async, the way need to work with fileChooser method will be slightly different.
File upload
A code snippet example
The application we are going to use for testing file upload is https://uppy.io/examples/xhrupload/ and since we know the puppeteer operations are all async, the code of filechooser looks something like this
    await page.goto('https://uppy.io/examples/xhrupload/', { "waitUntil": 'networkidle2' });

    const [fileChooser] = await Promise.all([
        page.waitForFileChooser(),
        page.click('.uppy-FileInput-btn')
    ])

    await fileChooser.accept(['/Users/karthikkk/Downloads/docker (1).jpg']);
As you can see from the above code, the code page.waitForFileChooser() is sitting within an Promise.all, meaning all the line of code within the promise block must be fully executed before the next await statement can be executed.
Complete code demo video
The video is part of Udemy course

The above video is part of Udemy course https://www.udemy.com/course/puppeteer/ which is a best seller course in Udemy of all time

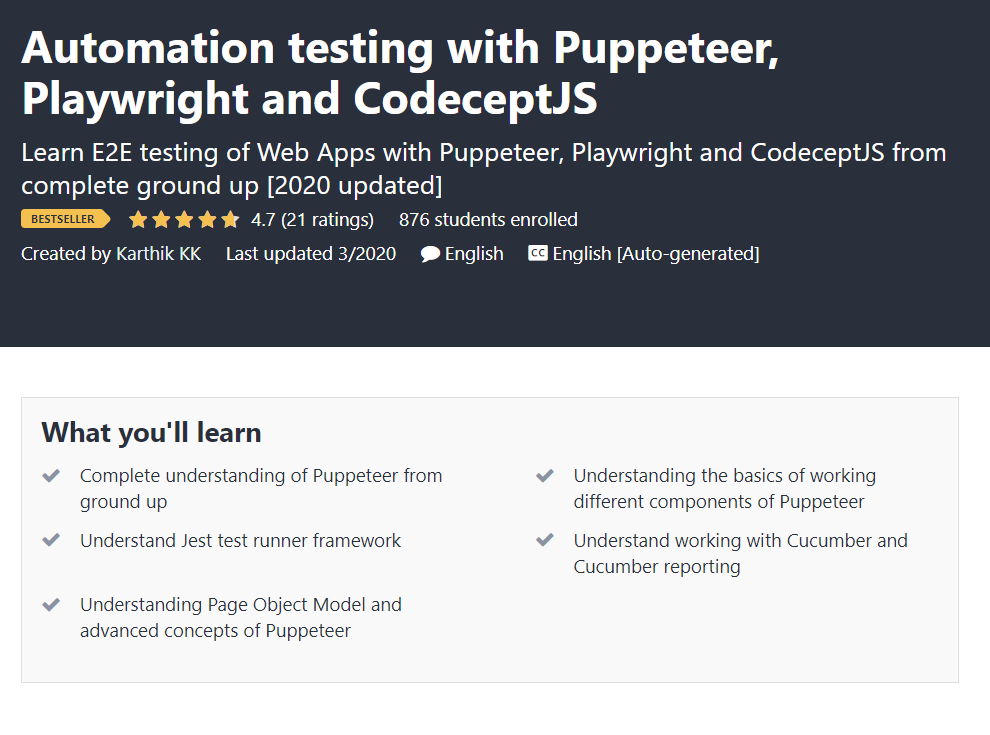
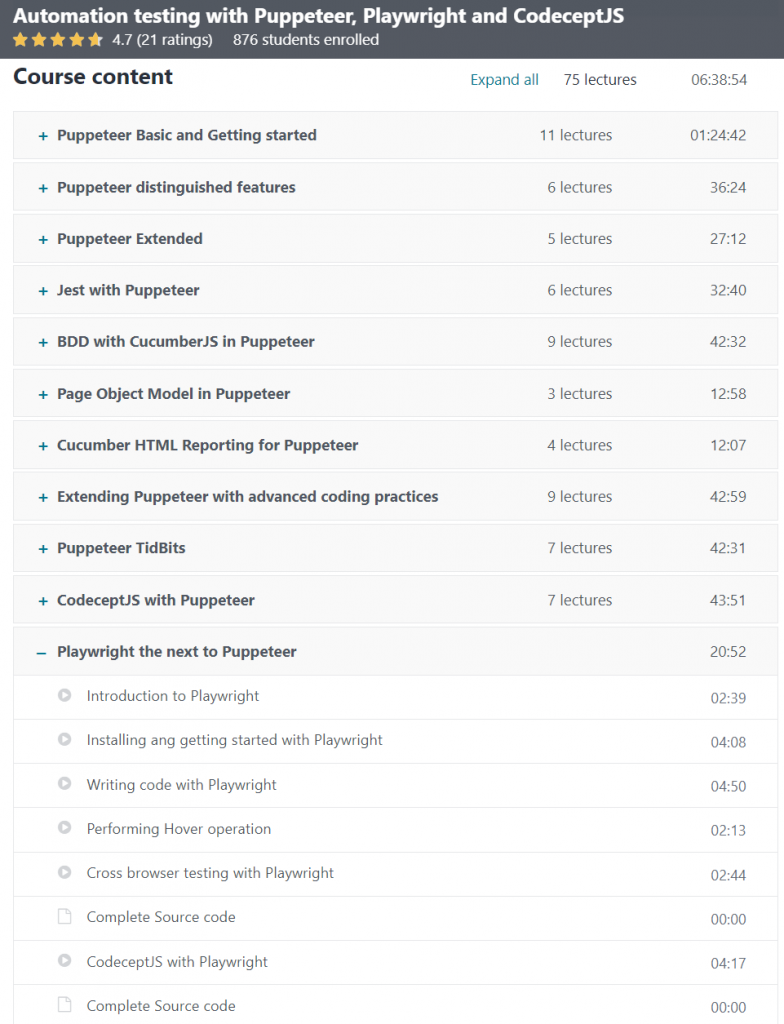
Here is the complete course content (7 hours of content and will keep growing)

Please let me know if you are interested in the course, I will share the coupon code in the email id that you have mentioned in the comments section of this post!
Thanks,
Karthik KK